
The starter motor is one of the most important components for starting the engine. It converts the battery’s electrical energy into mechanical motion that turns the crankshaft to begin the combustion cycle. This guide explains common starter failure signs, the checks you should perform before replacement, safe removal and installation steps, and how to avoid frequent mistakes.
What is the starter motor and what does it do?
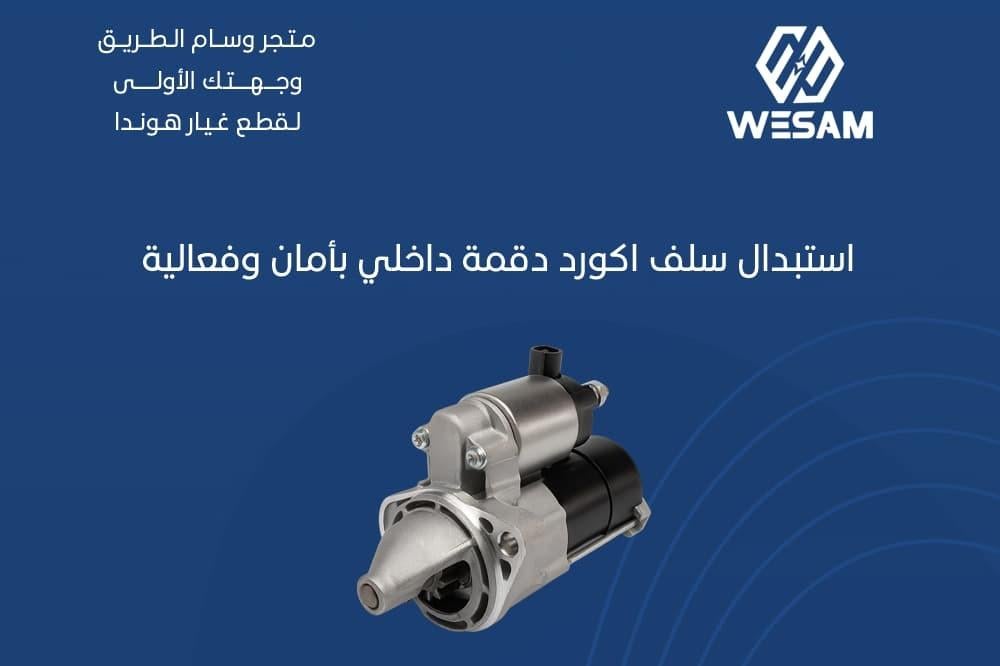
The starter is a small electric motor that operates when you start the vehicle. It connects to a gear (Bendix) that temporarily engages the engine’s ring gear to crank the engine, then disengages after the engine starts. Any weakness in the starter or in the power supply circuit can cause delayed starting or a “clicking” sound without cranking.
Common signs that indicate a starter problem
- Hearing a click when starting with no engine cranking.
- Slow or intermittent cranking when attempting to start.
- The starter works sometimes and fails at other times (intermittent fault).
- A faint burning smell or unusual heat near the starter or cables.
- Dimming interior lights or weak electrical power during a start attempt.
Important checks before replacing the starter
Before deciding to replace the starter, it is important to confirm the issue is not caused by the battery, cables, relay, or ignition switch. These checks help you diagnose more accurately:
1) Battery and condition check
- Confirm the battery is charged and the voltage is stable (a weak battery can make a healthy starter appear faulty).
- Inspect the battery terminals for corrosion/deposits or loose fastening.
2) Power and ground cable inspection
- Inspect the main power cable to the starter to ensure there is no break, overheating, or burn marks.
- Inspect the ground (chassis/engine ground) between the engine and the body; a weak ground can cause slow cranking or clicking.
3) Relay/fuse and signal wire inspection
- Verify the fuses and relay associated with the starting circuit according to the vehicle’s wiring diagram.
- Inspect the signal wire from the ignition switch (Ignition Switch Wire) to ensure the connection is secure and free of corrosion.
4) Listening to starting sounds
- Clicking with no cranking: may indicate a weak battery, poor connections/ground, or a starter solenoid issue.
- Slow cranking: often an electrical issue (battery/cables/ground) or excessive mechanical load.
- Grinding/scraping sound: may indicate an issue with the starter gear or the engagement area.
Required tools and materials
Prepare the following before you begin:
- Wrenches/sockets in suitable sizes for the mounting bolts.
- A torque wrench (if available) to tighten fasteners to service specifications.
- Protective gloves and safety glasses.
- A jack and jack stands to secure the vehicle.
- A flashlight and light cleaning supplies (such as a cleaner spray and a cloth).
Basic safety steps before working
- Park on a level surface, set the parking brake, and place the transmission in Park or Neutral depending on the gearbox type.
- Disconnect the negative battery terminal first to prevent sparks and short circuits.
- Wait briefly after shutting off the engine if there is high heat around the engine bay.
- If you raise the vehicle, ensure it is securely supported on jack stands before getting underneath.
Steps to access and remove the old starter
1) Accessing the starter location
- Raise the front of the vehicle if needed and support it on jack stands.
- Remove the lower cover/shield (if present) to access the starter area near the transmission/engine.
2) Disconnecting electrical connections
- Disconnect the main power cable attached to the starter terminal after confirming the battery is disconnected.
- Disconnect the signal wire (control wire) carefully and keep the nuts/bolts in a safe place.
- Inspect the terminals for corrosion, overheating, or burn marks.
3) Removing mounting bolts and extracting the starter
- Identify the starter mounting bolts (they may vary by design).
- Loosen the bolts gradually while supporting the starter body by hand to prevent it from dropping.
- Remove the starter carefully without pulling on wiring or contacting nearby components.
4) Cleaning and preparing the mounting area
- Clean the mounting surface from dirt, oil, and light rust to ensure good contact.
- Check the opening and bolt threads and confirm there is no visible cracking or damage.
Installing the new starter and checking operation
1) Mounting the starter in place
- Position the starter and confirm proper alignment.
- Install the bolts by hand first, then tighten gradually and evenly.
2) Reconnecting electrical connections
- Reconnect the signal wire first and secure it firmly.
- Reconnect the main power cable and ensure the connection is tight and the terminals are clean.
3) Initial test
- Reconnect the battery and attempt to start the engine.
- Observe starting /li>
- Check for unusual heat at the main power cable after starting.
Common mistakes to avoid
- Replacing the starter without checking the battery, ground cable, and power supply wiring.
- Skipping cleaning of contact surfaces or leaving rust/oil on the mounting surface.
- Leaving connections loose, which can cause overheating and progressive damage.
- Working under the vehicle without jack stands or without disconnecting the battery.
References and links that may help
- Honda Accord starter reference page: Starter reference
- Honda Accord parts category: Accord parts
- Additional reference related to electrical inspection: Coil reference
Conclusion
Starter replacement can be performed safely when you follow proper safety steps and confirm the diagnosis before changing parts. Prioritizing checks of the battery, cables, and relay first reduces unnecessary part replacement. Proper mounting and clean, secure connections help prevent the issue from returning and extend the life of the starting circuit components.