
Introduction
The internal starter motor is a critical component that undergoes significant electrical and mechanical stress in the Honda Accord push button system. It endures high currents and heat when cranking the crankshaft to initiate combustion. Over time and with repeated cycles, its performance may decline, causing difficulty in starting the engine or producing only clicking sounds without rotation.
Overview of the Starter Motor and Its Types
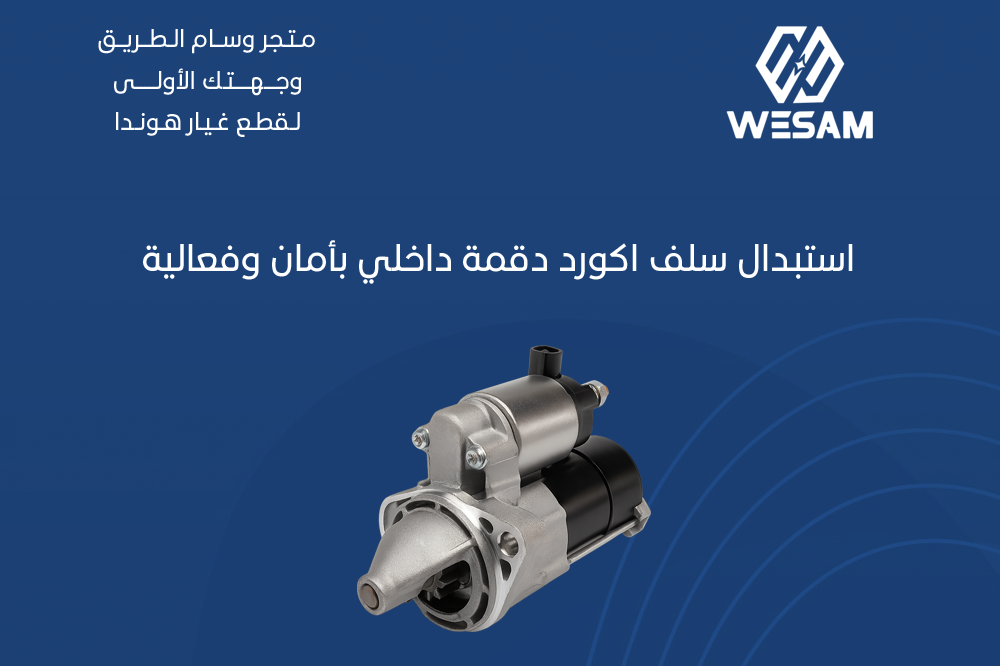
The starter motor is a small electric motor powered by the car’s battery to rotate the crankshaft fast enough to begin the combustion cycle. In the Honda Accord Push Button models (2018–2021), the starter typically draws 200–300 amps and connects through a Bendix gear that engages with the crankshaft gears during ignition.
- Single-Speed Starter: Common in standard trims, known for simplicity and durability.
- Dual-Drive Starter: Used in certain sport editions to ensure higher torque at low temperatures.
Understanding the correct type of starter is essential when replacing your Honda Accord push button starter, ensuring compatibility with the ignition system and other parts such as the M15 compressor coil.
Tools and Parts Required
Before starting, make sure you have:
- A new starter motor (OEM or from a trusted brand).
- Wrenches (10–14 mm) for mounting bolts.
- Torque wrench (25–30 N·m as per Honda’s specs).
- M15 compressor coil for ignition and electrical circuit checks.
- Safety gloves and goggles for protection.
- Wire cutters and electrical tape for safe battery disconnection.
- Jack and jack stands to safely lift and secure the vehicle.
- A flashlight for working under the car.
Always ensure you are using genuine or high-quality Honda Accord spare parts to avoid premature starter failure.
Basic Safety Procedures
- Turn off the engine and set the transmission to “P” or “Neutral” with the parking brake engaged.
- Disconnect the negative (-) battery terminal first to prevent sparks and short circuits.
- Wear protective gloves and safety glasses when handling electrical connections.
- Ensure the car is firmly secured on jack stands before working underneath.
Following these safety steps helps protect against electrical shocks and accidental drops.
Removing and Inspecting the Old Starter
Accessing the Starter
- Lift the front of the car using a jack and secure it with stands.
- Remove the underbody shield (if present) to expose the starter near the transmission shaft.
Disconnecting Electrical Wires
- Disconnect the (+BAT) supply cable from the starter terminal carefully.
- Disconnect the ignition switch wire by loosening its small screw.
- Keep the screws and connectors for reinstallation.
Removing Mounting Bolts
- Identify the 2–3 mounting bolts securing the starter.
- Loosen them counterclockwise with a wrench, supporting the starter with your hand while removing it.
- Carefully remove the starter without dropping it onto other components.
Cleaning the Mounting Area
- Clean the mounting surface of rust and grease with a wire brush and cleaner spray.
- Check for any damage to the housing or bolt holes.
Installing the New Starter and Testing Performance
Mounting the New Starter
- Position the new starter carefully in place.
- Hand-tighten bolts first, then secure with a torque wrench (25–30 N·m).
Reconnecting Electrical Connections
- Reattach the ignition switch wire first to avoid sparking.
- Reconnect the (+BAT) supply cable securely.
- Clean terminals if necessary to ensure a strong connection.
Initial Test and Start-Up
- Reconnect the battery and attempt to start the engine.
- Listen for smooth cranking without grinding or delays.
- Monitor the dashboard battery indicator for stable voltage.
Using the M15 Compressor Coil
After installation, use the M15 compressor coil to check ignition spark quality and the overall electrical system, ensuring the new starter works seamlessly with the Honda Accord’s components.
Tips to Maintain Starter Performance
- Regularly check battery charge levels—low voltage puts strain on the starter.
- Clean battery and starter terminals every 10,000 km to prevent corrosion.
- Avoid frequent short startups; allow cooling time between ignition attempts.
- Protect cables from extreme heat by keeping them away from the exhaust manifold where possible.
- Apply light lubricant to the Bendix gear as needed to reduce friction.
Conclusion
By following these steps and precautions, you can safely and efficiently replace the Honda Accord push button starter, ensuring optimal electrical and mechanical performance. Relying on genuine Honda Accord spare parts will guarantee long-lasting reliability and trouble-free operation.
At Wisam Al-Tariq Auto Parts, we provide the highest quality genuine and aftermarket Honda Accord parts, including starters, M15 compressor coils, and more to keep your car running at its best.