
In this guide, learn the steps to replace the front drive axle (commonly known as the “CV axle”) on a Honda Accord, understand the difference between OEM and aftermarket options, recognize common failure symptoms, and follow practical tips for choosing a part that lasts longer.
The drive axle is a critical component in front-wheel-drive vehicles like the Honda Accord. It transfers torque from the transmission to the front wheels while allowing movement during steering and absorbing road impacts. Any defect in this component can directly affect smoothness, stability, and overall safety.
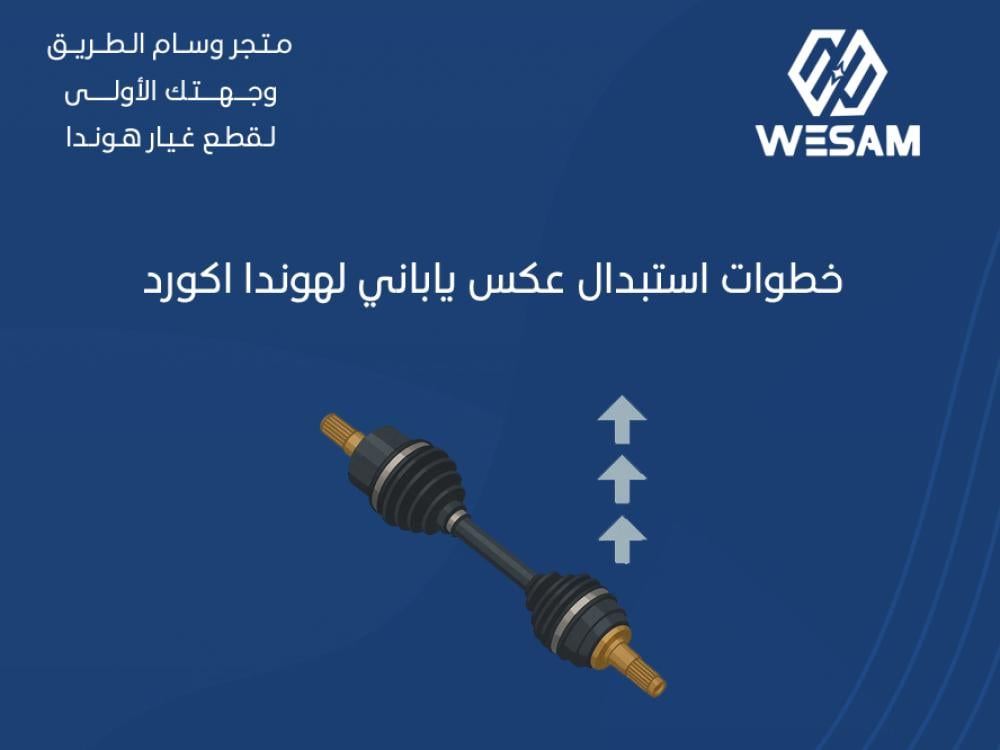
What Is the Front Drive Axle (CV Axle)?
The front drive axle is a mechanical shaft that connects the transmission to the front wheel. It contains flexible joints (inner and outer CV joints) that allow movement with the suspension system. A rubber boot protects these joints from dust and grease leakage. When the boot tears or grease leaks, wear begins gradually and may eventually lead to joint failure.
Why Choosing an OEM or High-Quality Part Matters
OEM or high-quality axles are typically manufactured with higher precision and better resistance to heat and load. This reduces the risk of vibration and sudden noise while extending service life, especially with daily driving and uneven road conditions.
- Improved stability during acceleration and gear changes.
- Reduced vibration and clicking noises when turning.
- Longer service life compared to low-quality alternatives.
- Lower risk of early boot damage and grease leakage.
Common Signs of Drive Axle Failure on a Honda Accord
If you notice one or more of the following symptoms, early inspection is recommended to prevent further damage:
- Clicking or popping noise when turning left or right.
- Noticeable vibration during acceleration or at higher speeds.
- Grease leakage around the joint or rubber boot area.
- Cracked or torn rubber boot.
- Shuddering during maneuvering or braking in some cases.
OEM vs Aftermarket Drive Axles
Before purchasing, it is important to understand the key differences:
- OEM: Manufactured to precise standards with guaranteed compatibility. Typically offers smoother operation and longer lifespan when properly installed.
- Aftermarket: Quality varies widely. Some options are acceptable, while others may wear quickly or cause vibration. In some cases, modifications may be required, which can affect balance.
In summary, the most important factors are specifications, warranty, joint and boot quality, and correct vehicle compatibility.
Front Drive Axle Replacement Steps (Guidance Only)
These steps are for general understanding. If you lack sufficient mechanical experience, it is best to have the work performed by a qualified technician.
1) Vehicle Preparation
Lift the vehicle on a level surface using a jack and secure it with jack stands. Block the rear wheels, and for added safety, disconnect the battery.
2) Wheel Removal and Access
Loosen the wheel lug nuts and remove the tire to access the suspension and axle area. A torque wrench and proper tools may be required depending on fastener condition.
3) Releasing Part of the Suspension
Depending on the vehicle design, certain suspension mounting points (such as part of the control arm or strut) may need to be loosened to create enough clearance for axle removal.
4) Removing the Old Axle
Disconnect the axle from the wheel hub, then carefully pull the inner end out of the transmission. Light resistance is normal, and a suitable tool may be needed to avoid damaging seals or mounts.
5) Installing the New Axle
Verify correct length and joint type. Insert the inner end until it locks into place, then secure the outer end at the wheel hub and torque all fasteners to specification.
6) Reassembly and Testing
Reinstall all removed components and the wheel. Perform a low-speed test drive to ensure there are no unusual noises, vibrations, or grease leaks.
Important Tips Before Buying
- Do not rely on appearance alone; confirm compatibility using the VIN or part number.
- Pay close attention to rubber boot quality, as it is most exposed to heat and debris.
- Choose a part with a clear manufacturer warranty.
- Manually check joint smoothness; movement should be free of abnormal resistance.
Where to Find a Properly Compatible Part
For accurate compatibility, it is best to choose a supplier that provides clear product information and assists with vehicle matching before purchase. Available options can be reviewed online at: wesamsa.com
Important note: Prices vary depending on model year and part type (OEM or high-quality replacement). Any figures should be considered approximate and confirmed before purchase.
When Is Regular Inspection Recommended?
- Frequent driving on rough roads or over heavy bumps.
- When clicking noises or sudden vibrations appear during turns.
- If grease leakage is noticed under the vehicle near the wheel area.
Frequently Asked Questions
Can installation be done without a lift?
Using a lift or proper jack stands is strongly recommended for safety and sufficient working space.
Is a used axle a good option?
It may be a temporary solution, but longevity is not guaranteed unless boots and joints are thoroughly inspected.
Does the term “CV axle” indicate the car is Japanese?
No. “CV axle” is simply the common name for the front drive axle. Honda is a Japanese manufacturer, but parts may be produced in different countries depending on the supply chain.
Conclusion
Replacing the front drive axle is more than a repair—it is an important step in maintaining vehicle safety and stability. Early inspection, choosing a properly compatible and high-quality part, and correct installation all help reduce future failures and ensure smoother driving over the long term.